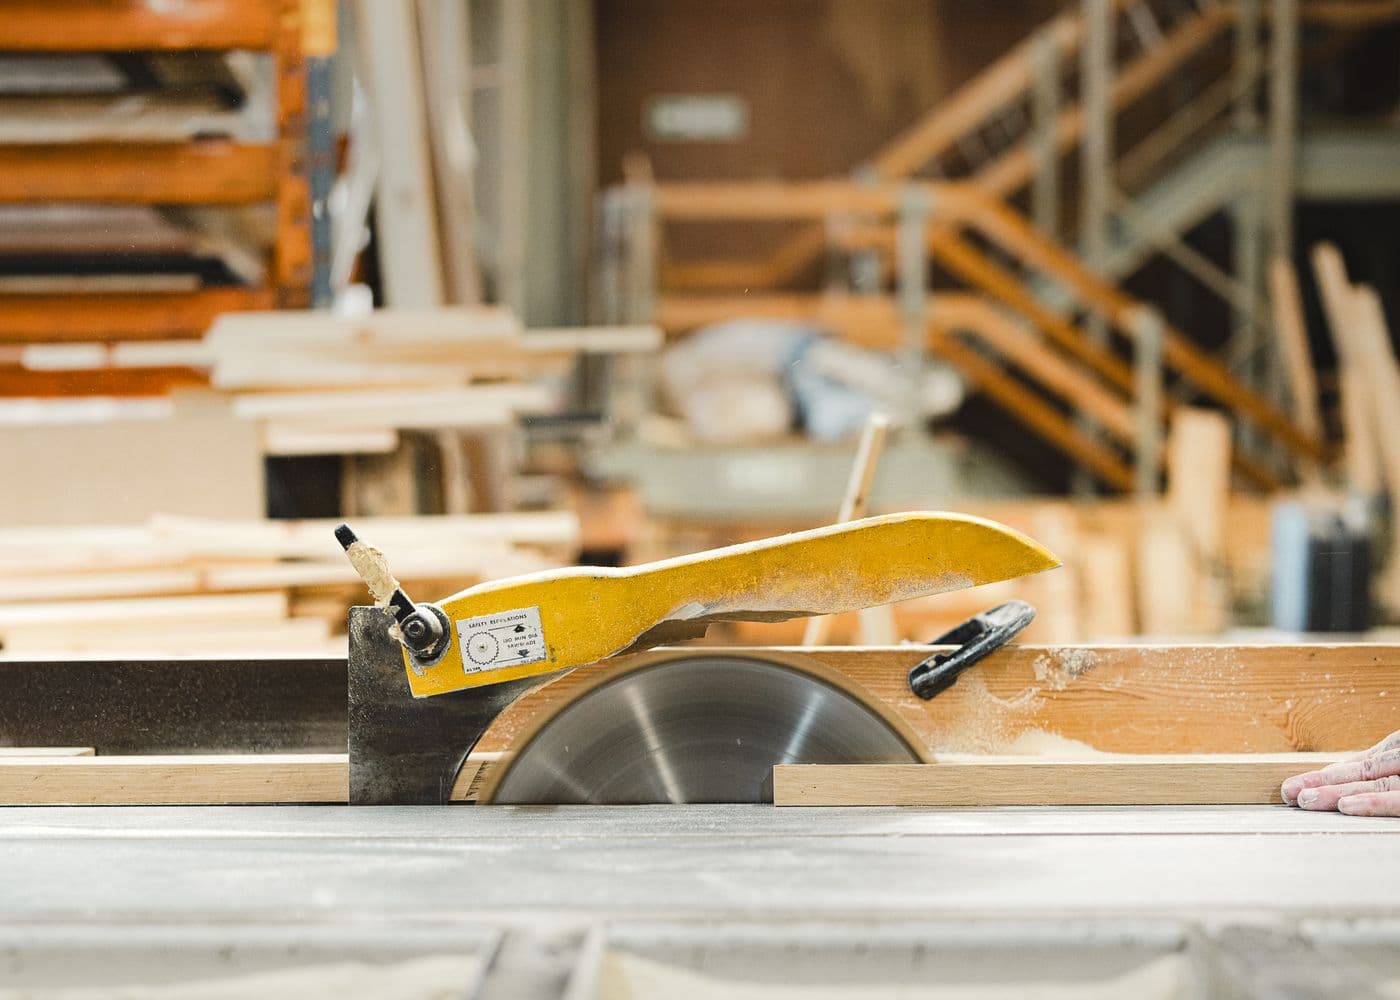
The correct build order prevents one system from occupying the space another system needs. It also delays irreversible purchases and cuts until requirements, payload and interfaces are resolved. Treat each stage as a gate with a tangible output.
Ten-stage conversion sequence
| Stage | Required output |
|---|---|
| 1. Mission | Occupants, seasons, trip pattern and ranked requirements |
| 2. Delivery plan | Whole-project budget, contingency, schedule and DIY/pro responsibility |
| 3. Base van | Inspected exact variant, measurements, scale weight and mechanical baseline |
| 4. Floor plan | Full-size ergonomic mock-up plus component and axle-weight register |
| 5. Systems | Coordinated electrical, water, climate, fuel and ventilation drawings |
| 6. Shell | Repairs, approved structural work, windows, fan and exterior penetrations |
| 7. Infrastructure | Protected cables, pipes, ducts, insulation and documented routes |
| 8. Interior | Lightweight panels and restrained furniture with service access |
| 9. Commissioning | Tested, labeled systems and saved diagrams/manuals |
| 10. Validation | Loaded weights, insurance, state requirements and road test confirmed |
1. Define the van's job
Record passengers and pets, legal travel seats, sleeping positions, longest normal trip, temperature range, cooking, work, sports gear, bathroom expectations, campground frequency and parking. Label each requirement essential, preferred or optional.
If these are guesses, complete the three-trip rental test. A floor plan should solve a sentence such as: “Two adults travel for three weeks, carry bikes inside, work online, cook indoors and use developed campgrounds every third night.”
2. Set the project ceiling and responsibility
Use the US conversion cost guide to separate vehicle, mechanical reserve, materials, contractor labor, tax and contingency. For every task, name the person who designs, installs and verifies it.
DIY is not a moral category. Hire qualified help for work beyond your ability to execute and check—often structural openings, passenger seating, fuel-fired appliances, propane and 120V. A hybrid plan preserves owner involvement while making safety responsibility explicit.
Schedule dependencies in hours. Include sourcing, learning, shipping, weather, workspace setup and rework. Set weather-tight and drivable milestones rather than one optimistic completion date.
A simple schedule might allocate one phase to requirements and measured design, one to vehicle/mechanical work, one to shell openings, one to hidden systems, and one to furniture and commissioning. The calendar length depends on available hours. Never let a booked cross-country trip force untested electrical, fuel or furniture work onto the road.
3. Buy and baseline the van
Follow the US base-van comparison. Confirm roof, wheelbase, drivetrain, GVWR/GAWR labels, door openings, factory wiring/airbags and actual empty scale weight. Resolve corrosion, leaks, maintenance and mechanical faults before burying access.
Notify the insurer about the proposed work and verify coverage throughout construction. State titling and registration treatment varies; check the relevant DMV before assuming a finished conversion will be titled or taxed in a particular way.
4. Freeze floor plan and loaded weight
Measure the shell at several heights. Add realistic insulation and panel thickness. Tape the floor full-size, then use cardboard for beds, counters and bathroom walls. Rehearse cooking, dressing, getting out at night and retrieving daily gear.
Maintain a component register with weight and location. Include fixed construction, passengers, one gallon of water at about 8.34 lb, fuel, food, bikes and every accessory. Check GVWR and both axle ratings, with operating margin. Heavy systems behind the rear axle can overload it before total GVWR is reached.
5. Coordinate all systems
Put structure, furniture, electrical, plumbing, heater, ventilation and fuel routes on one drawing. Conflicts found here cost pixels; conflicts found after paneling cost days.
Electrical
Build a load list with watts, hours and duty cycle. Choose battery, alternator/shore charging, solar and inverter together. Use the US electrical calculator to connect loads to capacity, cable and protection. Mount batteries for crash loads and service, protect every penetration and keep overcurrent devices accessible.
Water and climate
Size water from measured daily use and refill opportunity. Provide secure mounts, fill, vent, drain, winterization and leak-safe placement. Plan roof ventilation and heating/cooling expectations using the actual climate. Air conditioning is an energy and heat-rejection problem, not just an appliance purchase.
Propane, fuel and 120V
Decide early whether each is necessary, then follow component codes, manufacturer instructions and qualified practice. Locate combustion exhaust, air intakes, shore equipment and propane storage before furniture. Do not route later around a finished cabinet.
6. Complete shell and structural work
Strip, clean and repair the vehicle. Before every cut, inspect both sides for ribs, wiring, airbags, drainage, sensors and exterior clearance. Use exact templates and protect cut metal. Leak-test windows, fans and exterior fittings before covering them.
Passenger seats and restraint systems are specialized engineering, not furniture. NHTSA guidance concerning conversion vans and required safety equipment is one federal layer; state rules and insurer requirements remain separate. Obtain appropriate professional design and documentation.
7. Install and record hidden infrastructure
Run cable, pipes, drains, ducts and sensor leads with abrasion protection, support, isolation and service loops. Label both ends. Photograph every wall and floor with a measuring reference before insulation and panels.
Insulation must coexist with drainage and ventilation. Avoid trapping moisture against metal or blocking factory paths. Pressure-test plumbing and electrically test hidden routes before lining. Add spare conduit where future data or solar expansion is genuinely likely.
8. Fit panels and secure furniture
Use lightweight materials appropriate for vehicle vibration and humidity. Fix furniture to known structure for driving loads, use positive latches and preserve airflow around mattresses, heaters and electrical equipment. Every pump, fuse, valve and filter should be removable without destroying the interior.
Build and test modules before final installation. Finish edges and seal vulnerable material, but retain inspection access at penetrations and utility joints.
9. Commission and document
Test each charging source alone and in combination. Verify polarity, overcurrent protection, connections and voltage drop under meaningful load. Fill, pressurize, inspect and fully drain water. Commission heaters, propane and 120V equipment under applicable instructions and qualified checks.
Test alarms, ventilation, emergency exit, isolation and all high-draw appliances. Label panels and shutoffs. Save schematics, manuals, serial numbers, receipts, installer records and photos. Spend a night in the driveway and take a local shakedown before a major route.
10. Weigh and verify the finished vehicle
Weigh in realistic travel condition and obtain axle weights. Compare with the labels and adjust loading. Confirm tire type and pressure guidance for the actual vehicle and load.
Then verify title/registration classification, inspection, insurance and any tax or equipment requirements with your state and provider. A social-media build in another state is not authority for yours. Road-test progressively, inspect fixings and leaks after the first miles, and follow any manufacturer retorque instructions.
The five-question cut rule
Before drilling, cutting or ordering a major item, ask:
- Is its exact size and service clearance on the current drawing?
- Is its installed weight in the register?
- Do structure and every adjacent system still work?
- Is installation and verification responsibility clear?
- Can it be repaired after the interior is finished?
If any answer is no, pause. The van is not behind schedule; the design is preventing rework.
Once the requirements are stable, use the van layout-planning method to test the bed, galley, storage and service access at full size. Then use the US living-systems guides to turn internet, cooking, toilets, security and maintenance into explicit loads and routines.
Convert the final load list into an electrical design
Calculate connected battery, solar, charging, inverter, cable and fuse requirements before purchasing the power system.
Frequently Asked Questions
Keep the build moving
Make the next build decision easier.
Get practical diagrams, calculator updates and honest product comparisons in your inbox.
Jack Kennedy is a self-builder who has built two vans. He created Roam Wired to simplify conversion planning and share free tools, supported by affiliate links.
About Jack