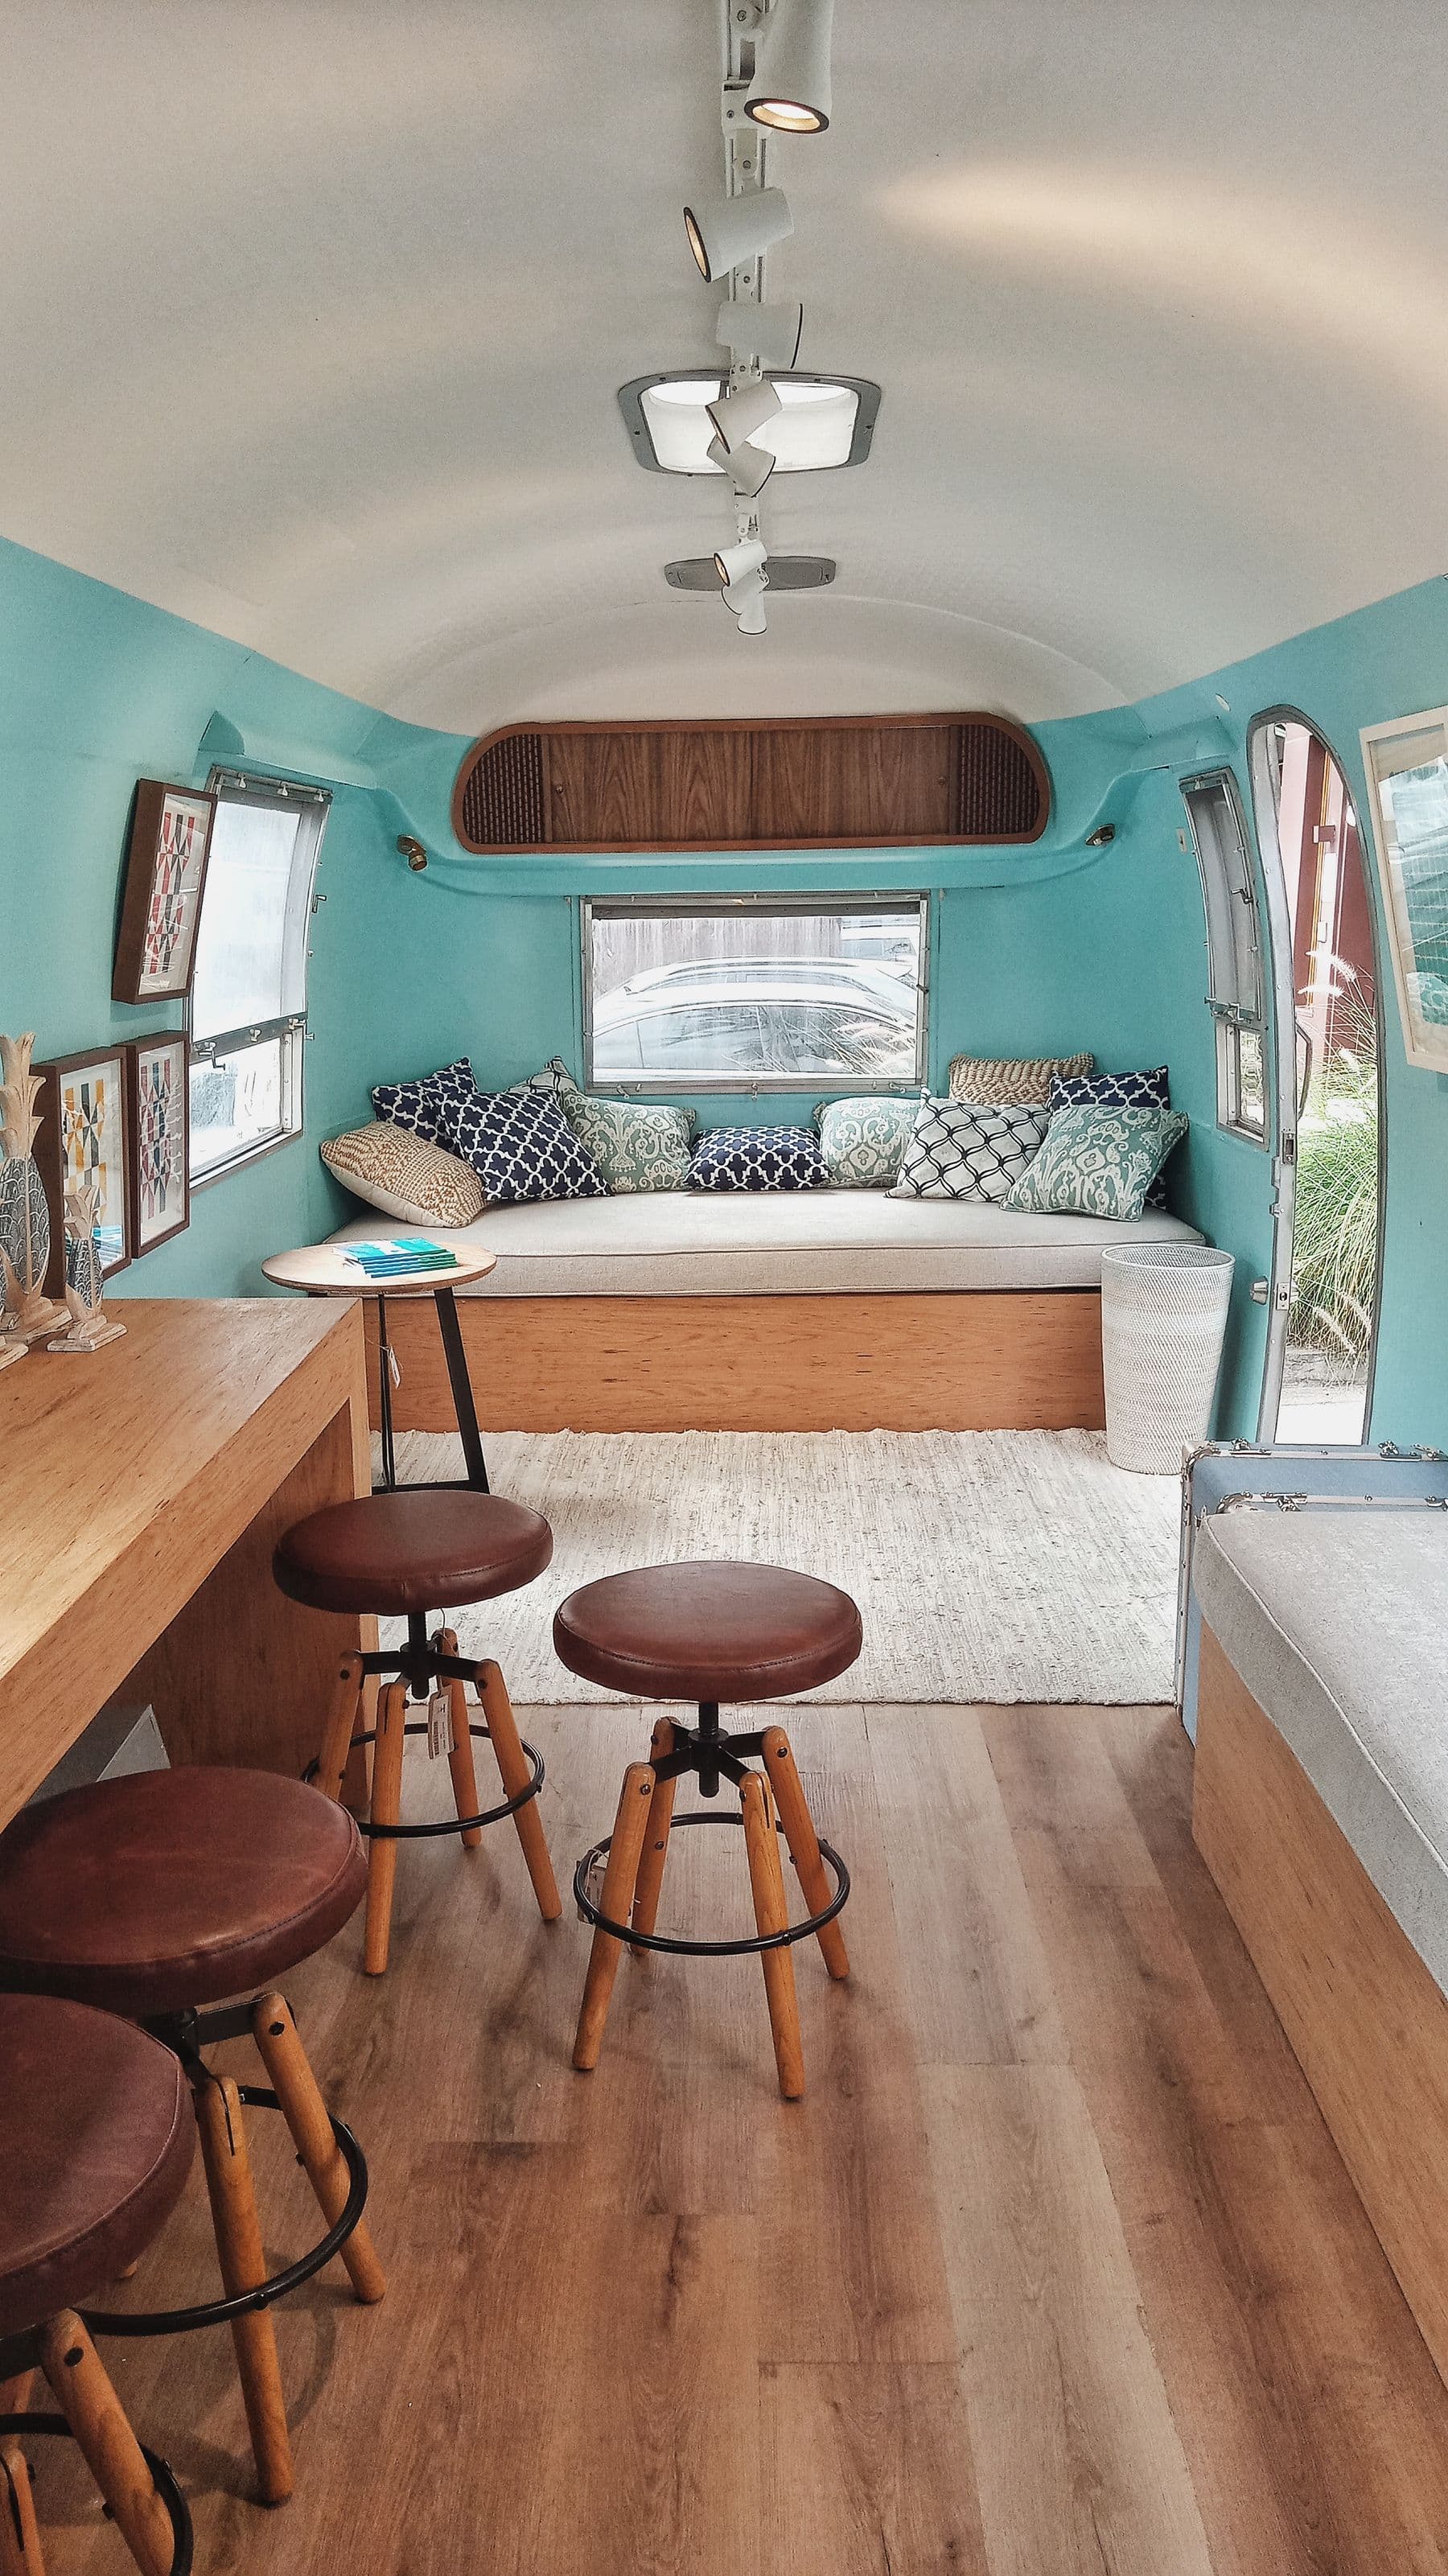
Treat the toilet as a complete waste route: use, containment, ventilation, carrying, authorized disposal and cleaning. A product that fits the cabinet but cannot be serviced on the trip does not fit the use case.
Compare systems
| Type | Advantage | Tradeoff |
|---|---|---|
| Emergency bag system | Minimal space | Limited use and disposal requirements |
| Portable flush | No exterior hatch | Full lower tank must be carried |
| Cassette | Familiar regular servicing | Dump access and chemical routine |
| Urine-diverting dry | Separates liquid and solid streams | Two containers and disciplined use |
| Larger composting unit | Potential longer solid interval | Space, venting and post-trip processing |
Calculate uses per person and choose a conservative emptying interval. Check the full container weight and the physical route to the dump point.
Test those assumptions in a US camper van rental with the same party size. Record actual uses, privacy, odor, dump availability and the effort required to carry the container. A compact toilet that is serviced willingly will outperform a larger unit everyone avoids emptying.
Use authorized disposal
NPS facilities illustrate why route checks matter: Bryce Canyon's RV dump station is seasonal and can be limited or paid depending on campground status. Confirm each facility immediately before travel and have an alternative.
Never discharge black or gray waste onto pavement, land or water. Follow campground, land-manager and local rules. Keep waste hoses and tools isolated from the potable fill hose and never rinse them at a drinking-water connection.
Design privacy and removal
Mock up seat height, knee room and night access with the bed deployed. A full wet bath provides privacy but consumes volume and adds waterproofing; a curtain or screen can serve a compact van if all occupants accept the routine.
Create a smooth, contained and cleanable removal path. Secure the toilet in travel and preserve ventilation required by the product. Coordinate exterior hatches or vents with the van layout plan.
Operate the exact product
Follow fill lines, approved additives, venting, power and maintenance instructions. Do not combine chemicals or assume “compostable” packaging is accepted in local waste streams. For separating toilets, prevent liquid overflow and verify lawful disposal for both streams.
Handwashing and cleaning feed into the camper van water system. Store gloves and chemicals away from food.
Repeat the service checklist
Check dump access, seals, vent and latch; empty before capacity; use protective equipment; follow posted and manufacturer steps; rinse only at the marked station; wash hands; inspect for leaks. Carry a legal emergency containment option.
The most successful toilet is the one that gets serviced early and correctly. Choose routine reliability over an optimistic autonomy claim.
Budget the full ownership routine
Include consumables, replacement seals, vent power, cleaning products, dump fees and the interior volume given to the compartment. Check whether proprietary parts can be bought along the planned route. Store the manual and model number with the van records.
Before long storage, empty and clean the system according to its instructions; do not leave waste or incompatible chemicals to damage seals. On recommissioning, inspect latches and vents before adding fluids. If the unit leaks or cannot be cleaned safely, isolate it until repaired rather than improvising a disposal route.
Plan daily life in the van
Connect toilet choice to water, ventilation, layout and route planning.
Frequently Asked Questions
Keep the build moving
Make the next build decision easier.
Get practical diagrams, calculator updates and honest product comparisons in your inbox.
Jack Kennedy is a self-builder who has built two vans. He created Roam Wired to simplify conversion planning and share free tools, supported by affiliate links.
About Jack