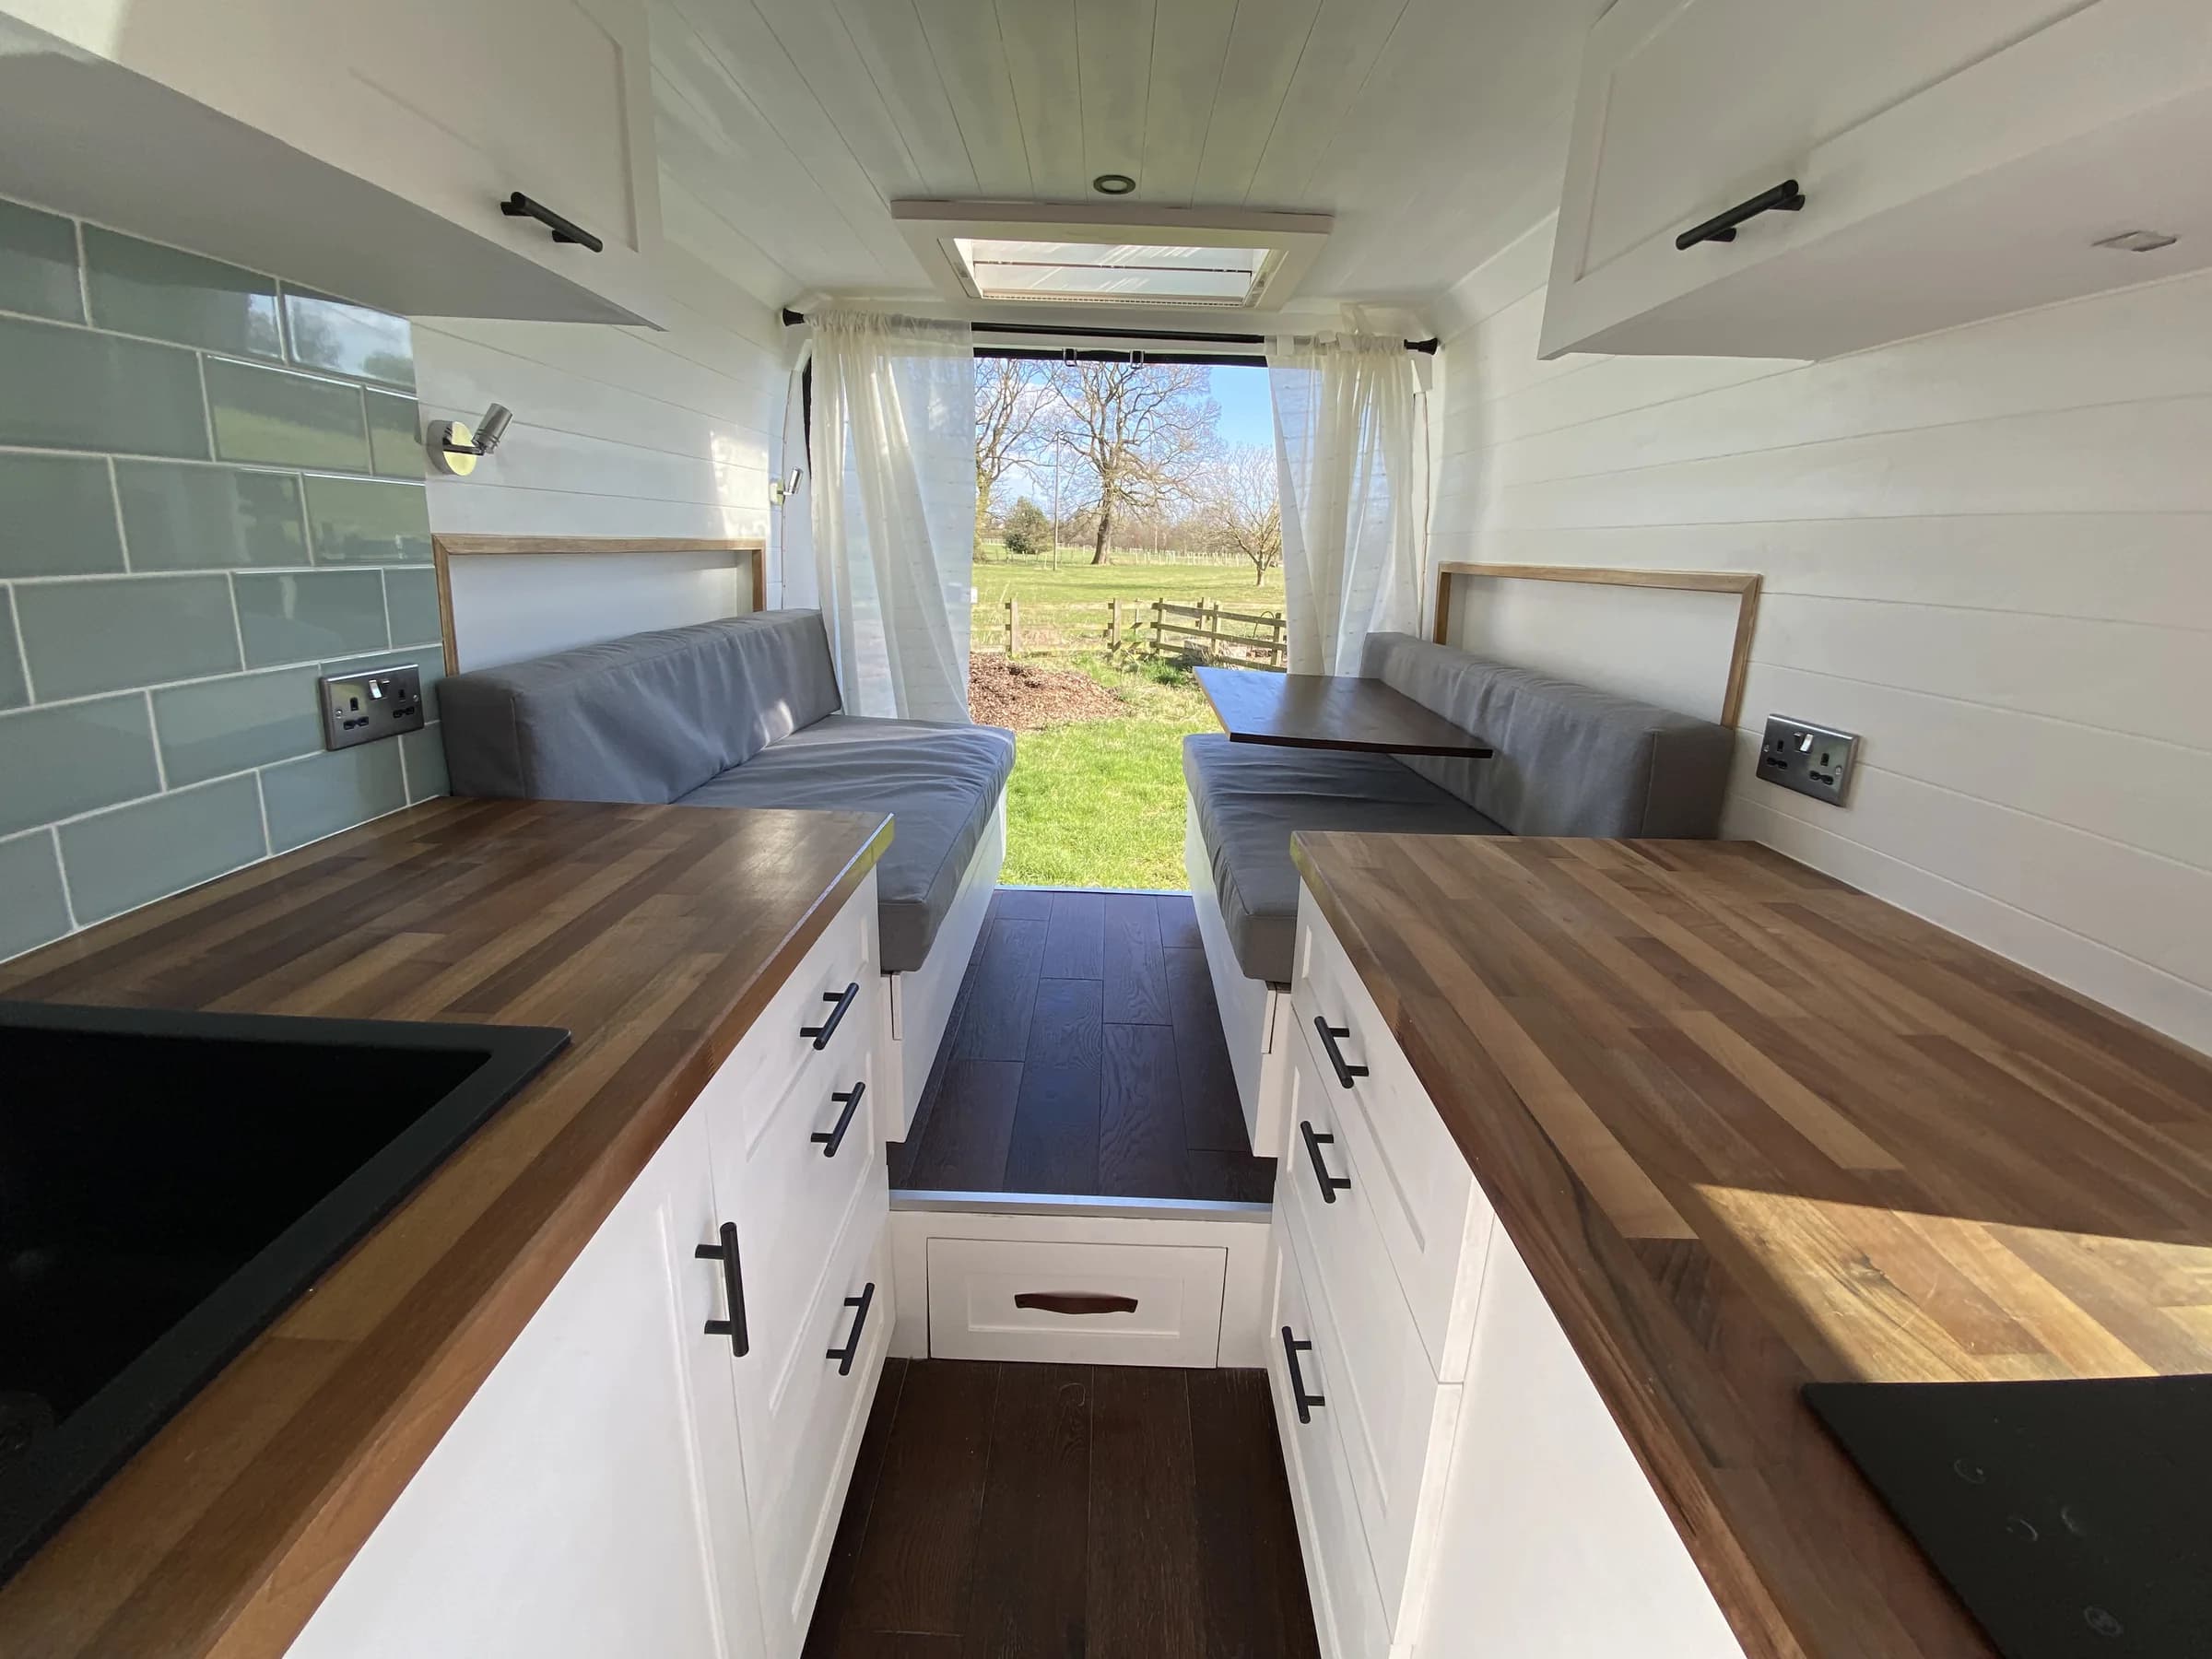
Campervan layout planning works best as a requirements exercise followed by physical testing. Software can make a polished plan, but it cannot tell you whether two people can pass in the aisle, whether a wet coat reaches the bed, or whether a pump can be removed after the cabinet is finished.
Write the use case before drawing
Describe one normal day in the van: who wakes first, where bedding goes, how breakfast is cooked, whether anyone works inside, what happens in rain and how the toilet is reached at night. Separate requirements from preferences.
| Decision | Requirement example | Design consequence |
|---|---|---|
| Occupants | Two adults plus a dog | Clear floor, secure travel position and ventilation |
| Sleeping | Permanent bed for a tall sleeper | Lengthways bed or body-width extension |
| Travel | Winter weekends | Indoor drying zone and heated service routes |
| Work | Two laptop days per week | Real seated posture, table and connectivity power |
| Equipment | Bikes inside | Rear garage height, restraints and axle load |
Rank each item must, should or could. If everything is essential, the van is probably too small or the brief too ambitious. The base-van guide helps compare the vehicle envelope before you commit.
Measure the actual shell
Measure at floor, bed, shoulder and roof levels. Van sides taper; the width at the floor is not the sleeping width. Record wheel arches, ribs, door apertures, seat travel, handbrake movement, glazing, fuel fillers and manufacturer no-drill zones. Keep a reference origin so every dimension is taken from the same point.
Mark heavy fixed items on an axle diagram. Water, batteries, gas, passengers and a rear garage can consume payload quickly. One litre of water is roughly one kilogram. Confirm the plated limits and plan to weigh the finished van by axle. GOV.UK explains that maximum authorised mass includes the vehicle and its maximum load, while Regulation 100 requires loading and weight distribution not to create danger.
Zone the interior around movement
Start with zones, not cabinets:
- travel and belted seating;
- entrance and wet-gear landing;
- cooking and food storage;
- sleeping and changing;
- washing and toilet;
- work or dining;
- utilities and maintenance access;
- bulky or dirty storage.
Place activities that share services together. A kitchen near the water tank shortens pipe runs. Electrical equipment near, but safely separated from, major loads reduces cable length. A toilet near a door can simplify removal. Do not put every service in one sealed bench: water connections should not sit above batteries or distribution equipment.
Keep the route from every occupied position to an exit usable. Doors, drawers and a deployed bed should not create an accidental trap. If adding travel seats, use professional engineering. DVSA guidance says additional seats must be securely attached, advises forward- or rear-facing seats with suitable belts and warns that child restraints cannot be used on side-facing seats. Read the official seat-conversion guidance before treating a dinette as a passenger seat.
Compare the main layout families
| Layout | Strongest advantage | Main cost |
|---|---|---|
| Fixed transverse rear bed | Instant bed and large garage | Width limits and permanent volume |
| Fixed lengthways beds | Better for tall sleepers and easy access | Longer sleeping zone |
| Rear convertible lounge | Excellent daytime view and social space | Daily bed conversion and bedding storage |
| Dinette bed | Efficient multi-use centre | Small bed, repeated setup and compromised seating |
| Elevating-roof bed | Adds berths without floor area | Roof cost, weather exposure and lifting limits |
Use the bed-layout comparison for dimensions and trade-offs. For the galley, the kitchen-layout guide covers safe workflow and ventilation.
Build a full-size mock-up
Tape the plan on a floor, then add cardboard at worktop, seat and bed height. Put real boots by the door, real pans in a drawer-sized box and real bikes in the garage. Test these sequences:
- enter in rain and remove outerwear;
- cook while another person moves through;
- open the fridge, toilet and every service hatch;
- make the bed and store bedding;
- sit for an hour with feet, knees and laptop supported;
- reach the fuse board, pump strainer and tank drain;
- leave quickly with the bed deployed.
Change one variable at a time and record why. A comparable rental is the highest-value prototype because it adds road noise, weather and tired people to the test.
Freeze interfaces, not every shelf
Before cutting the van, freeze exterior penetrations, windows, roof fan, travel seats, bed envelope, main tanks, batteries, heater, gas locker if used, and main cable/pipe corridors. Smaller shelves and dividers can remain adjustable.
The complete conversion plan puts those decisions in build order. If the conversion changes seating capacity, weight, body type or structure, check whether DVLA records need updating using the official vehicle-change guidance, and tell the insurer before work begins.
A layout sign-off checklist
- Every sleeper fits at full length and normal shoulder position.
- All belted travel seats are engineered for travel, not assumed safe because they look like seats.
- Heavy masses are included in payload and axle calculations.
- Doors and drawers open in both day and night modes.
- Ventilation serves cooking, sleeping and wet gear.
- Frequently serviced parts are removable without destroying furniture.
- Water joints are not hidden above electrics.
- Emergency exits remain usable.
- The full-size mock-up has survived a real routine test.
- The plan can explain what was deliberately left out.
A successful layout feels unsurprising: the next action has a place, the floor stays navigable and maintenance does not require demolition. That comes from testing decisions, not adding more features.
Design the complete interior
Compare beds, kitchen zones and lightweight storage before freezing the floor plan.
Frequently Asked Questions
Keep the build moving
Make the next build decision easier.
Get practical diagrams, calculator updates and honest product comparisons in your inbox.
Jack Kennedy is a self-builder who has built two vans. He created Roam Wired to simplify conversion planning and share free tools, supported by affiliate links.
About Jack