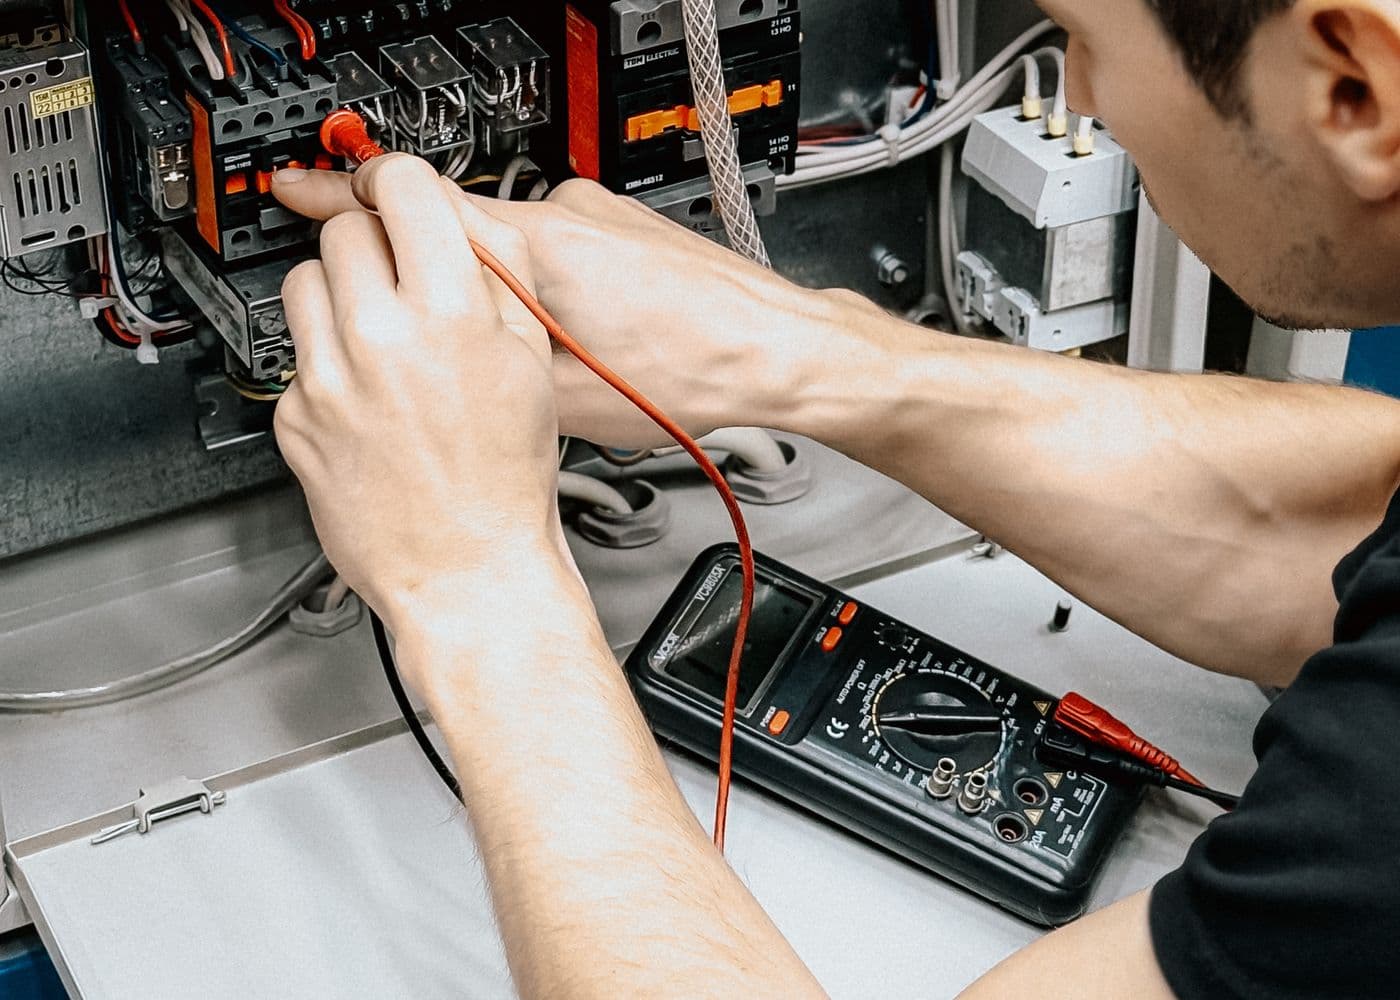
A diesel air heater is not merely a 12V appliance. It is a combustion system, fuel circuit, exhaust and high-temperature air path installed in a vibrating vehicle. Safe first ignition proves only that it started.
This guide defines design gates and evidence, not universal installation dimensions. Webasto's Air Top 2000 STC vehicle instructions say installation requires training/technical qualifications and that disregarding instructions affects approval and liability. AUTOTERM publishes its latest installation documentation from the Air 2D page. Use the manual revision and kit for the exact US product/listing.
Six coordinated designs
| Design | Must be resolved |
|---|---|
| Product | Exact fuel, output, voltage, controls, elevation rating and vehicle approval/listing |
| Mounting | Permitted orientation, sealed plate, structural support and service access |
| Combustion | External intake/exhaust, routing, temperature protection and separation |
| Fuel | Approved pickup/tank, pump, line, joints, support and reserve |
| Cabin air | Clean return, allowed ducts/outlets and blockage protection |
| Electrical | Dedicated fuse/cable, voltage at start and uninterrupted shutdown cycle |
All must fit the measured US conversion plan before purchase.
Select a documented product
Verify the exact heater is intended and listed/approved for the vehicle/RV application, with real installation/operating manuals, US support, parts and warranty. Match gasoline/diesel fuel strategy and voltage. Confirm altitude behavior for the controller, not the product family in general.
Compare minimum and maximum output. A high-output anonymous heater may be unable to run cleanly and comfortably in a small insulated van. A genuine supported kit should include correctly matched pump, loom, combustion pipe, exhaust, approved silencer where applicable, ducts, outlets and mounting parts.
Counterfeit certification, undocumented changes and mismatched kit parts erase any upfront saving. Record model/serial before installation.
Measure the mounting location above and below
Possible positions include an approved seat base, interior bench/garage or purpose-built exterior enclosure. Check:
- seat rails, airbags, factory harnesses and structural members;
- brake/fuel lines, driveshaft/exhaust, tanks and suspension travel;
- road spray, standing water, debris and future lift/jack points;
- flatness, mounting-plate/gasket requirements and gas-tight separation;
- maintenance access without removing the permanent interior;
- clearance from insulation, flooring and stored gear;
- allowed return and hot-air duct geometry.
Corrugated floors often need a heater-specific turret/plate or professional fabrication. Sealant alone is not structure or guaranteed combustion separation. Follow vehicle upfitter guidance and the heater instructions.
Combustion intake and exhaust
Both remain outside the living space. Route them so exhaust cannot enter the combustion inlet, roof fan, doors, windows, factory HVAC or other vents. Exhaust temperature requires clearance from fuel, wiring, undercoating, plastic tanks and combustibles.
Account for water drainage, road impact, vibration and the complete suspension range. Use only permitted pipe lengths, bends, diameters, termination and silencers. Do not point an outlet where occupants step or where grass/snow can block it.
Cabin return air is separate. Draw it from a clean interior zone where exhaust, fuel vapor and luggage cannot contaminate or block it. Guard hot outlets from bedding and passengers.
Fuel system
The manual controls pickup method, auxiliary-tank design, tube material, pump angle, heights, lengths and joints. Modern vehicle tanks and fuel modules vary—do not tap a convenient line without approved information.
Route away from exhaust, moving parts and crush zones. Support against vibration without overtightening, and protect external sections from road debris. Preserve vehicle driving reserve. Check local code, insurer and vehicle warranty implications.
Prime only by the documented controller/diagnostic procedure. Repeated failed starts or uncontrolled pump power can flood the combustion chamber and create smoke or fire risk.
Hot-air circuit
Follow allowed duct diameter, maximum total length, bends, branches and minimum open outlet area. Excess restriction can cause overheating and faults. Secure ducts so cargo cannot crush them.
Distribute heat toward occupants and freeze-sensitive utilities without overheating batteries, propane storage, wiring or bedding. The controller/temperature sensor needs representative cabin air, away from the outlet and cold door drafts.
Plan the insulation and ventilation at the same time. A warm front cabin with frozen rear plumbing is not a successful design.
Electrical circuit and shutdown
Glow startup creates a brief high draw; low voltage at the heater can cause failed ignition or shutdown. Use the exact supplied loom or specified stranded cable, fuse and connection points. Protect metal penetrations and route away from fuel/exhaust.
Calculate the whole winter load with the US electrical calculator. Include repeated starts, overnight fan/controller energy and the roof fan.
Fuel heaters typically need power after heat demand ends so the fan can purge/cool the unit. Do not interrupt this cycle with a casual battery switch. Emergency isolation and controller behavior must follow the exact manual.
Commissioning checklist
Commission using the manufacturer-required tools/procedure and retain:
- heater/controller/pump model and serial numbers;
- exact manual revision and component list;
- installation photos before covers;
- mount seal and structural verification;
- fuel leak and delivery checks;
- intake/exhaust separation, fastening and hot clearances;
- voltage at glow start, full output and shutdown;
- diagnostics/fault record;
- permitted hot-air temperatures/flow checks;
- installer credentials, invoice and warranty.
Run complete startup, modulation and controlled shutdown. Inspect externally while hot and again when cool. Test for exhaust entry with realistic door/window/fan configurations using professional methods. A household CO alarm is not a commissioning instrument.
CO, smoke and emergency plan
Install smoke and CO alarms rated for RV use in locations specified by the alarm makers. Test regularly, keep replacement dates visible and never use an alarm as permission to ignore exhaust routing.
The CDC says CO has no color or smell and may cause headache, dizziness, weakness, nausea, chest pain, confusion, loss of consciousness or death. If an alarm sounds or symptoms occur: shut the heater down only if immediately safe, move everyone to fresh air, call emergency services and do not re-enter until the vehicle is cleared and repaired. Review CDC guidance.
Maintenance and pre-trip inspection
Before heating season and after underbody contact, inspect exhaust, intake, fuel line, pump mount, loom, ducts and the mounting seal. Look for soot, corrosion, loose clips, crushed pipe, fuel odor and blocked outlets. Follow scheduled service and approved decoking/operating guidance for the exact unit.
Repeated lockouts, unusual smoke, changed sound, fuel smell or alarm events require diagnosis—not repeated resets. Stop using the heater until qualified inspection resolves the cause.
Compare the complete US heating options before committing. The right result is not just heat; it is supported equipment with every combustion, fuel and electrical interface documented and maintainable.
Give the heater reliable startup and overnight power
Use documented start/run consumption to calculate cable, fuse, battery and charging alongside all other cold-weather loads.
Frequently Asked Questions
Keep the build moving
Make the next build decision easier.
Get practical diagrams, calculator updates and honest product comparisons in your inbox.
Jack Kennedy is a self-builder who has built two vans. He created Roam Wired to simplify conversion planning and share free tools, supported by affiliate links.
About Jack