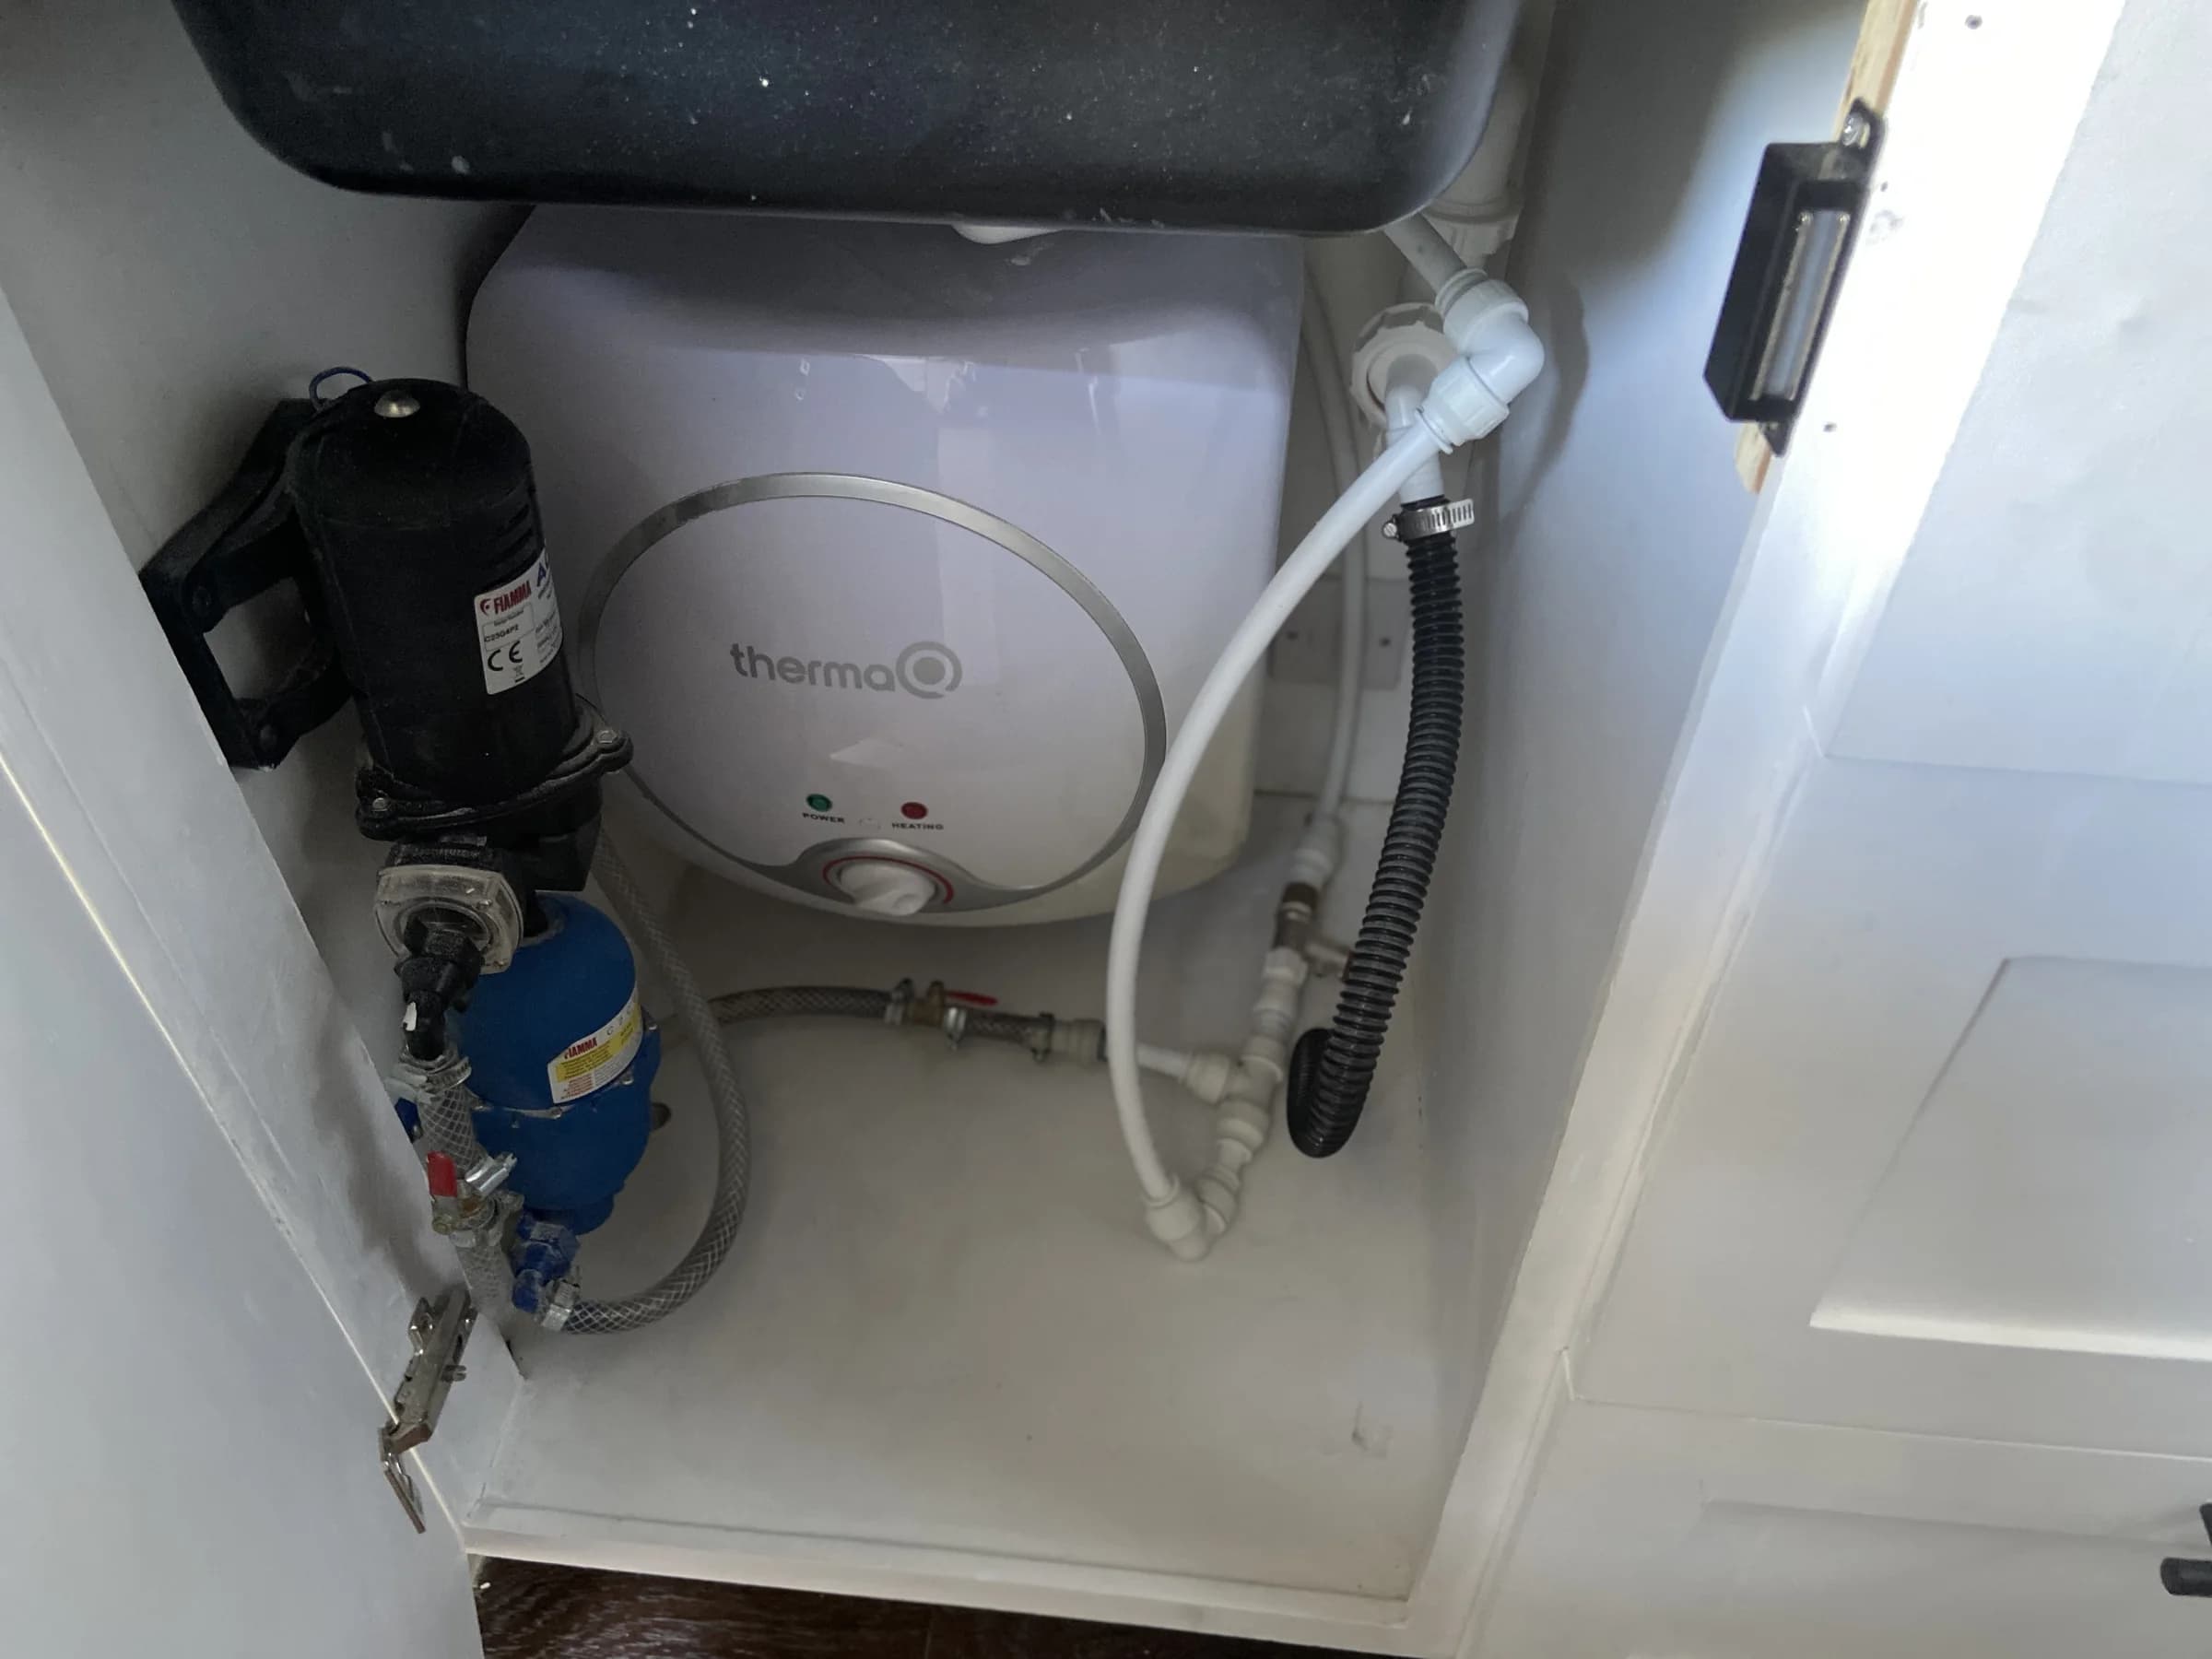
A campervan water system has four linked jobs:
- carry enough safe water for the trip without wasting payload;
- deliver it at a pressure every component can tolerate;
- heat only the amount justified by the use case and available energy;
- collect and dispose of waste without leaks, smells or illegal discharge.
Treat those as one system. A huge tank with a restricted fill, a powerful pump feeding a low-pressure heater, or a beautiful shower with no waste capacity is not a finished design.
Choose the service level first
Write down what the van must support before buying hardware.
| Service level | Typical outlets | Design consequence |
|---|---|---|
| Drinking and handwashing | One cold tap | Small removable tank or compact fixed tank can work |
| Cooking and washing-up | Kitchen tap | Pressurised cold system, practical waste collection |
| Outdoor rinse | Tap plus rear shower point | More flow, hose storage and privacy/drainage plan |
| Indoor shower | Kitchen plus mixer shower | Much larger water/waste demand, hot water and ventilation |
| Four-season use | Any of the above | Heated envelope, full drainability and frost procedure |
An indoor shower changes the whole conversion. It adds clean-water volume, grey-water volume, hot-water recovery, waterproofing, ventilation and payload. Rent a comparable campervan before committing; note how many showers the tank actually supports and how often it needs servicing.
Map the complete flow path
A common fixed arrangement is:
potable fill → fresh tank → full-bore isolation valve → pump strainer → demand pump → optional accumulator → cold manifold → tap and water-heater inlet → hot outlet → mixer → grey-water trap/container
Add a tank vent, lowest-point drains, electrical isolation and service access. Draw every valve and connection on the measured floor plan. Avoid inaccessible joints behind permanently bonded panels.
The Drinking Water Inspectorate says stored drinking water depends on a correctly designed, covered tank made from approved material, protected from heat and contamination and inspected regularly. Its storage-tank guidance also warns against oversizing because slow turnover allows water to deteriorate.
Size and position the tanks
Use the detailed campervan water-tank sizing method rather than copying another build. Measure real use at home or during a rental, choose an autonomy period, add a sensible reserve, then check fill opportunities and payload.
One litre of water has roughly one kilogram of mass before the tank, straps, brackets, heater and grey water are counted. Put the full-tank mass into the axle and payload spreadsheet from the conversion planning guide. Mount a fixed tank to structure using the tank maker's supported-area and restraint instructions; furniture panels are not automatically crashworthy tank restraints.
An internal tank generally stays warmer and is easier to inspect. An underslung tank frees valuable cabinetry but is exposed to frost, debris, ground clearance and mounting loads. Insulation only slows freezing; it does not create heat. If winter travel matters, coordinate the tank and pipe locations with the insulation and heating plan.
Fresh and grey tanks do not have to match exactly. Grey capacity can be lower if disposal is frequent, but it must cover the interval between approved service points. Never plan to discharge onto roads, pitches, drains or land unless the facility explicitly permits it.
Select the pump as part of the circuit
Choose by pressure, flow, current, noise strategy and service access—not the largest litres-per-minute number. The pump's shut-off pressure must suit the lowest-rated downstream part. Higher flow drains the tank faster and may make a small heater or waste route perform worse.
Whale's Watermaster installation manual specifies model-dependent flow and pressure, fused wiring, isolation and system testing. Follow the manual for the exact pump. The campervan water-pump guide covers sizing, accumulator decisions and noise diagnosis.
Install a cleanable strainer before the pump. Use compatible flexible connections where the manufacturer calls for them, secure pipe after the flexible sections and leave enough room to remove the strainer bowl without dismantling furniture. A pump hidden behind a fixed fridge is not serviceable.
Route cold and hot pipe deliberately
Use one coherent pipe-and-fitting family approved for its intended water and temperature service. Mixing nominally similar tube, collets and inserts from unrelated systems can produce connections that feel secure but leak under vibration or temperature cycling.
John Guest describes its 12mm mobile-home and caravan system for leisure-vehicle clean-water use. That does not make every push-fit product interchangeable. Cut tube square with the correct tool, remove damage, insert to the stated depth, secure it against chafe and respect bend radius, pressure and temperature data. See the pipe and fittings installation guide for a testable layout.
Keep runs short and direct, but do not stretch tube tight between fittings. Protect every penetration. Separate water connections from batteries, inverters and fuse equipment, and do not route a hidden joint above electrical gear. Photograph the finished pipe routes before lining.
Decide whether hot water earns its space
For washing-up, a kettle and safe mixing bowl may be more efficient than a fixed heater. A shower or frequent washing can justify an electric storage heater, gas appliance, engine calorifier or combined space/water heater. Each changes electrical demand, fuel installation, ventilation, pressure relief, drainage and frost protection.
The right question is not “Which heater is best?” It is “How many litres at what outlet temperature, how quickly, using which energy source?” The campervan hot-water comparison works through those trade-offs.
Combustion appliances and fixed gas work require manufacturer-approved installation and competent professional involvement. Do not improvise an unflued instant heater inside a vehicle. Hot water can scald; use the heater's required valves and a suitable mixing strategy.
Design for hygiene and maintenance
Use a known potable source and a dedicated clean fill hose whose ends are capped and kept away from toilet-service equipment. Do not let the hose nozzle touch the ground or a tank opening. Label non-potable lines clearly.
The system should allow you to:
- drain the fresh tank without running the pump dry;
- drain the heater exactly as its manual requires;
- open low points and empty branches;
- remove or bypass filters;
- inspect and clean the tank;
- remove the pump strainer;
- pressure-test every joint;
- collect and dispose of grey water lawfully.
Avoid dead legs: capped branches retain old water and complicate cleaning. The HSE notes that stagnation, warm water and deposits increase microbial risk; its hot and cold water guidance recommends short direct pipework, clean systems and removal of dead ends. A private campervan is not a healthcare water system, but those design principles are still sensible.
Build and commission in this order
- Freeze outlet positions, tank volumes and payload allowance.
- Confirm structural mounts, heater clearances and exterior penetrations.
- Dry-fit tanks, pump, heater, drains and service panels.
- Route and support pipework before insulation and lining close the cavities.
- Wire the pump through the correct fuse and accessible isolator using the exact manual.
- Flush debris, fill with known-safe water and prime at the lowest-flow outlet.
- Test every cold and hot connection at operating pressure.
- Leave the system pressurised with the pump isolated and inspect for pressure loss or moisture.
- Road-test with part and full tanks, then reinspect supports, joints and noise.
- Record valves, fuse, drain points, cleaning method and winter procedure.
Failure modes worth preventing now
- tank cannot be removed or cleaned;
- fill flows faster than the vent can pass air;
- pump pressure exceeds the heater or fittings rating;
- pump has no strainer, fuse or isolation switch;
- rigid pipe carries vibration into furniture;
- grey tank has no usable vent or cleaning access;
- a hot-water relief outlet can discharge onto occupants or equipment;
- hidden joints sit over electrical hardware;
- no low point exists, so winter draining is impossible;
- full water load pushes the van or one axle beyond its limit.
Commissioning is not just “the tap works”. Run every outlet alone and together, listen for rapid pump cycling, check drain speed, measure real daily use and inspect again after the first rough journey. The results should feed back into the tank, pump and hot-water decisions—not be hidden behind a final panel.
Coordinate sink and toilet placement through the campervan kitchen-layout guide and campervan toilet comparison before freezing tank and drain routes.
Build the complete water system
Use the tank, pump, hot-water, pipework and winterisation guides together before ordering components.
Frequently Asked Questions
Keep the build moving
Make the next build decision easier.
Get practical diagrams, calculator updates and honest product comparisons in your inbox.
Jack Kennedy is a self-builder who has built two vans. He created Roam Wired to simplify conversion planning and share free tools, supported by affiliate links.
About Jack