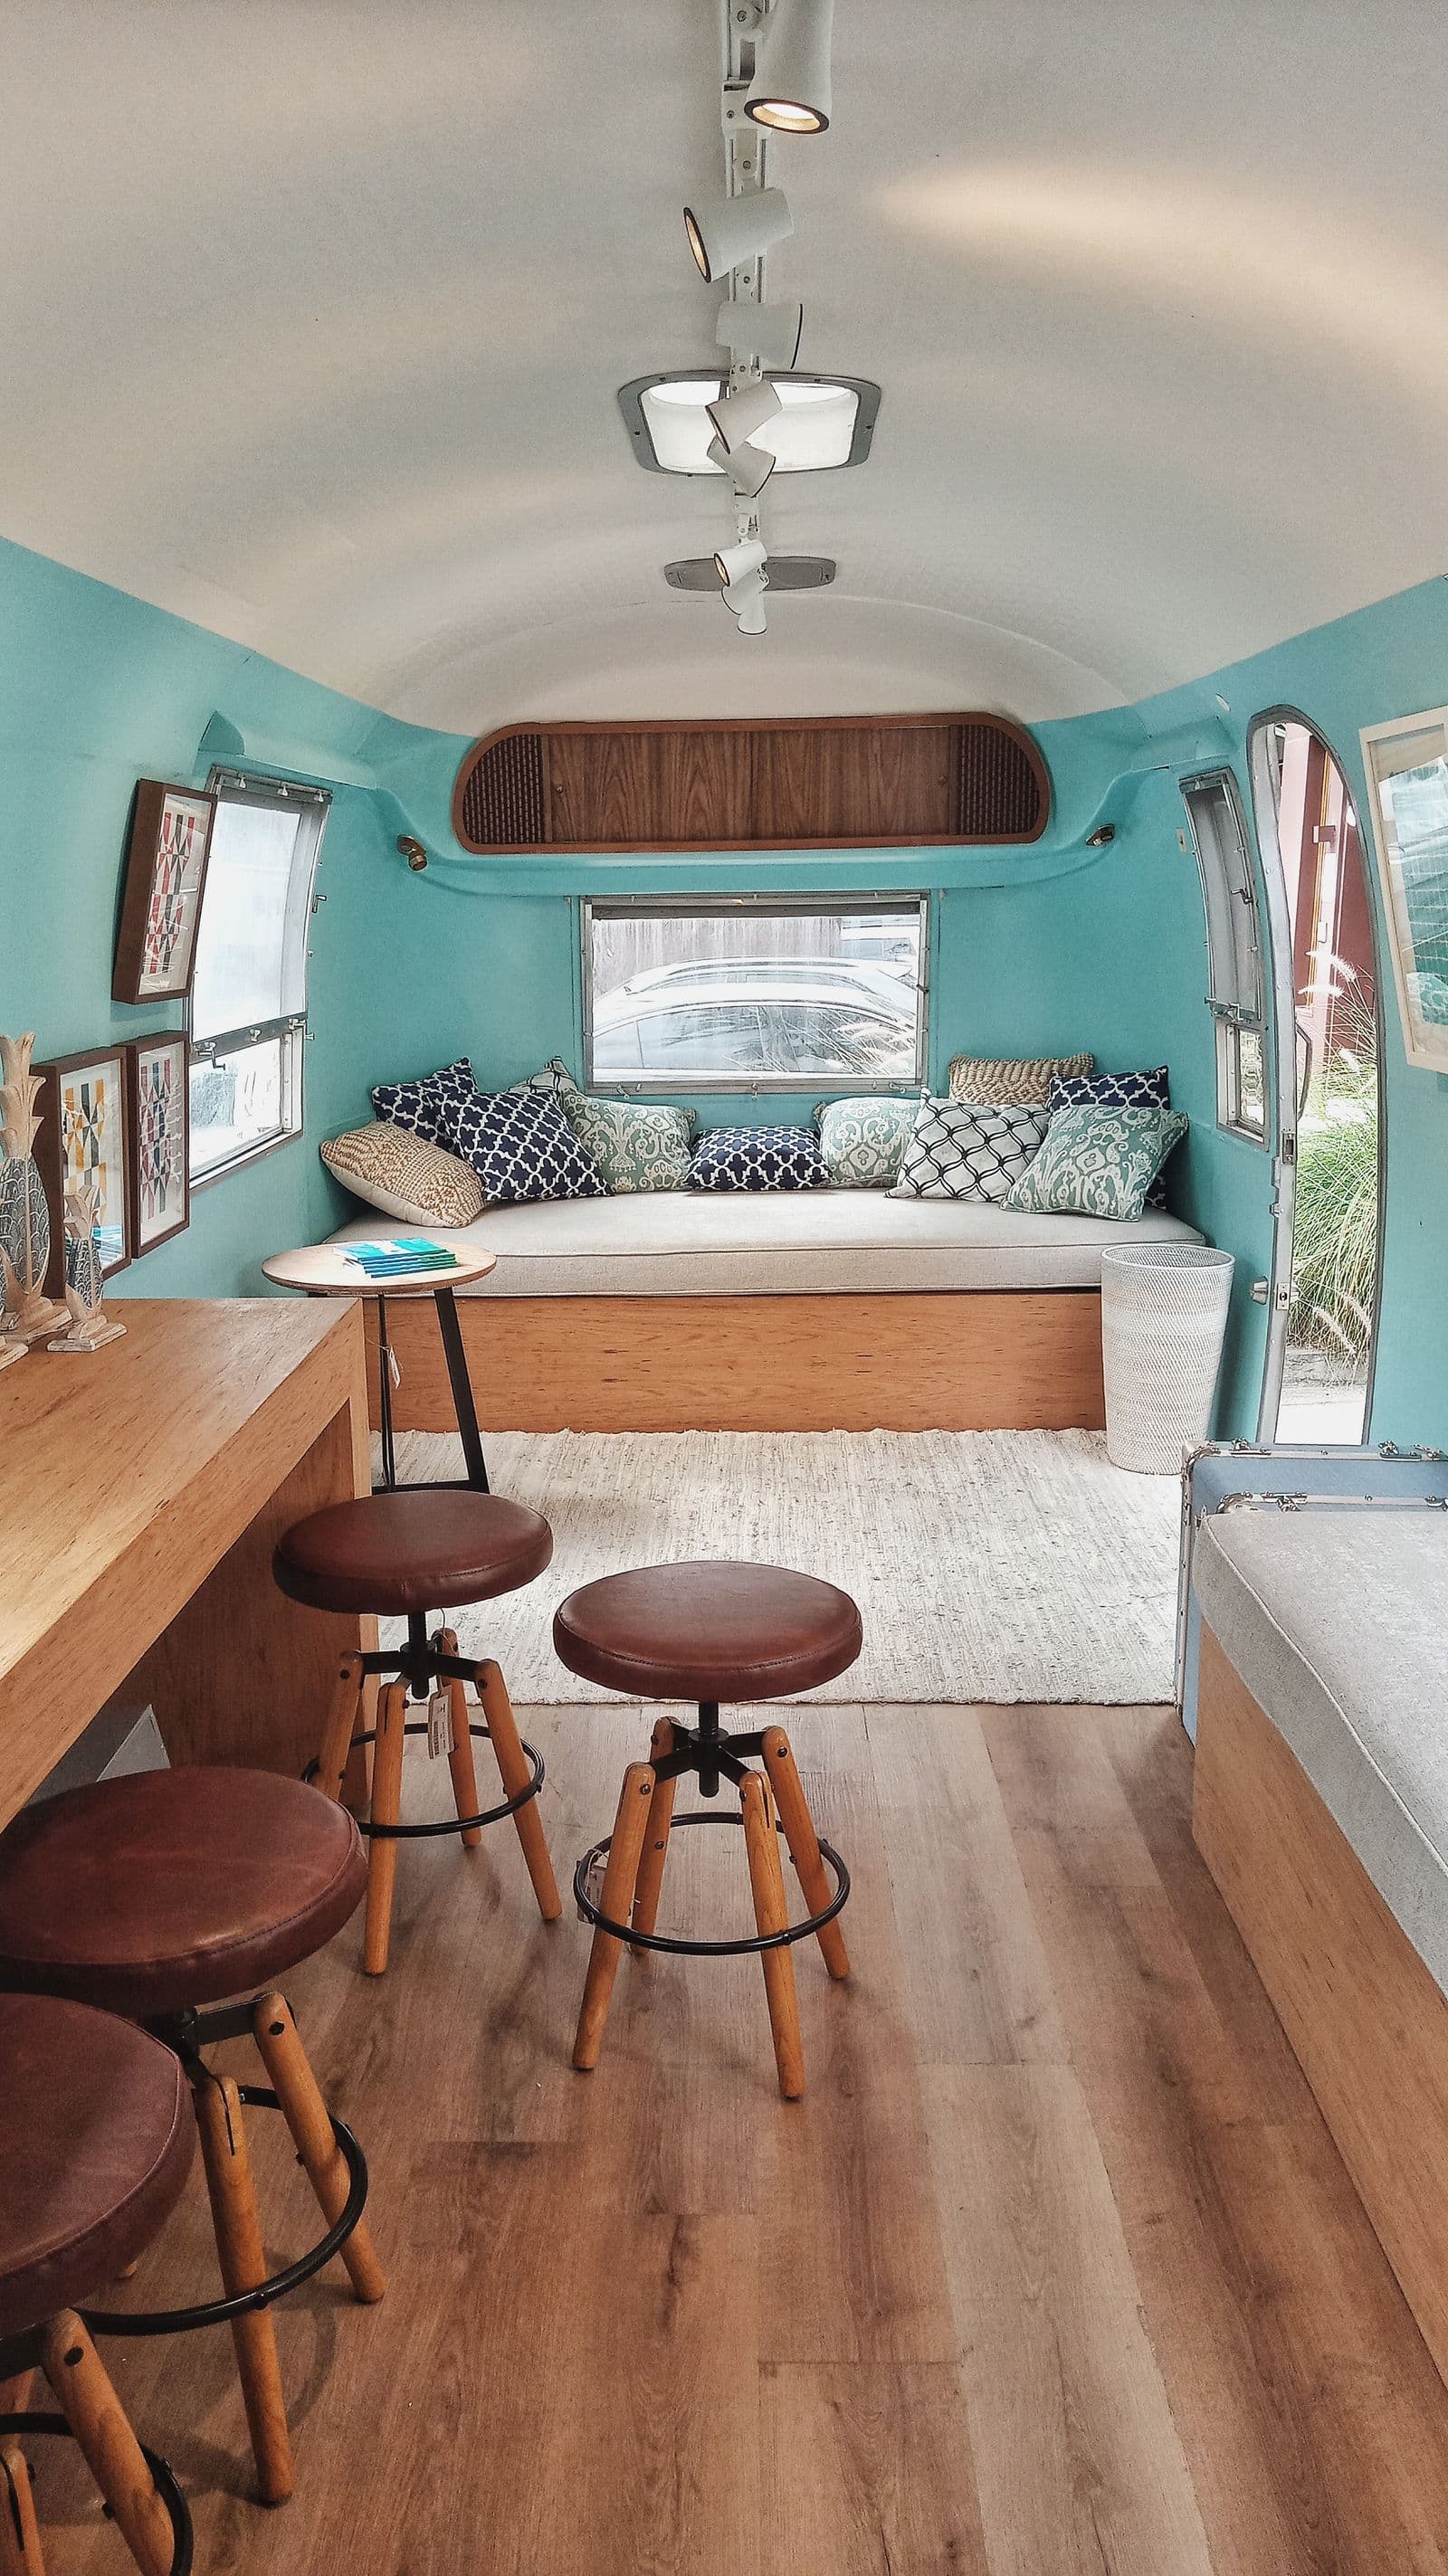
The ProMaster's low load floor and relatively square cargo space are useful for conversions. They do not remove the need for a vehicle-specific electrical design.
Size your ProMaster electrical system
Start with your appliance use, battery autonomy and available roof space rather than a generic shopping list.
Verify the exact van
Record the model year, engine, wheelbase, roof height, VIN-specific charging equipment and factory upfitter options. Then consult the relevant Stellantis body-builder or service information for approved connection and routing guidance.
Do not rely on the statement that every ProMaster has the same "smart alternator." The practical question is how the exact vehicle regulates voltage and what auxiliary load the manufacturer permits across real operating conditions.
Design alternator charging as a complete circuit
A DC-DC charger can limit current and provide a battery-specific profile. Select it only after checking:
- vehicle manufacturer limits and connection points;
- house-battery maximum and recommended charge current;
- charger input current at low input voltage;
- expected driving time and desired energy recovery;
- trigger or engine-running detection method;
- positive and negative round-trip cable length;
- fuse ratings and interrupt capability at each energy source.
The input cable may carry more current than the nominal output rating suggests. Use the charger's maximum input specification and a voltage-drop calculation to size the conductors.
Use the flat floor deliberately
An under-bed electrical bay can keep equipment protected and accessible, while a side cabinet may reduce the cable run to selected loads. Either layout should provide:
- secure battery restraint;
- protected terminals and bus bars;
- access to disconnects and fuses without dismantling furniture;
- the clearances and orientation required by chargers and inverters;
- separation from plumbing leaks and stored metal objects;
- a short, correctly sized inverter-to-battery path.
Do not bury the main protection devices behind fixed panels. Future inspection and fault isolation are part of the design.
Plan the roof before buying panels
Create a scaled roof drawing with fans, air-conditioning units, antennas, awnings, cable entries and required service space. Check shading throughout the day and preserve access to roof hardware.
Array size should follow expected daily energy use and seasonal solar conditions. If obstructions force panels into differently shaded areas, separate MPPT inputs or carefully planned series/parallel groups may be more useful than chasing the maximum nameplate wattage.

A finished layout has to coordinate electrical equipment, plumbing, storage and the way the van is actually used. Photo: Kampus Production / Pexels.
ProMaster planning checklist
- Complete the appliance energy budget.
- Confirm the real van and upfitter connection details.
- Choose a serviceable battery and equipment location.
- Measure every high-current cable route in both directions.
- Draw the roof and choose the solar arrangement.
- Select charging sources and inverter capacity.
- Add source protection, disconnects and labelled distribution.
- Review the complete drawing against every manufacturer manual.
Related guides
Frequently Asked Questions
Keep the build moving
Make the next build decision easier.
Get practical diagrams, calculator updates and honest product comparisons in your inbox.
Roam Wired
Roam Wired turns campervan research into practical plans. We publish transparent guidance, a free electrical design tool and marketplace resources for UK and US van builders.
About our approach