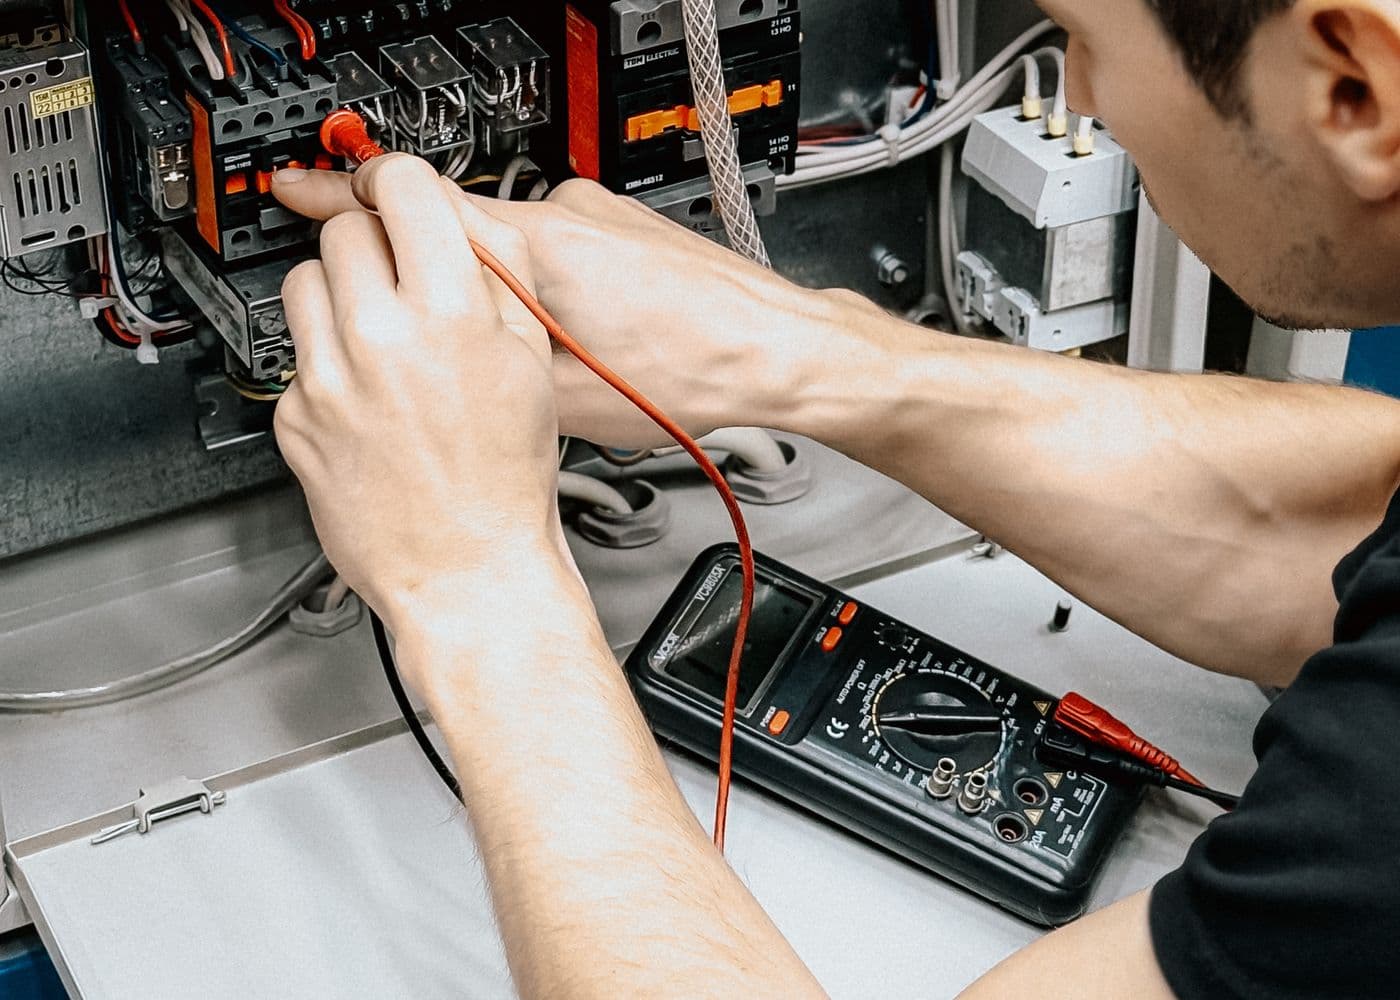
A fuse that blows repeatedly is protecting the circuit from a condition it was not designed to carry. The solution is to find that condition—not to keep replacing the fuse or install a larger one.
Start with the failure pattern
Check the circuit before changing protection
Use the free Roam Wired electrical design tool to estimate circuit current and cable requirements. Always verify the equipment manufacturer's instructions before changing a fuse rating.
Safety first
Disconnect shore power, solar charging and the battery supply before opening wiring or using a resistance/continuity setting. Verify the circuit is de-energized with a meter. Remove metal jewelry and keep tools away from exposed battery terminals; a battery can deliver enough fault current to cause burns or a fire.
If the fault involves a battery main cable, inverter, alternator charger, 120V AC equipment, melted insulation or signs of fire, stop and use a qualified RV electrician.
What the timing tells you
| When the fuse fails | Most likely causes | First check |
|---|---|---|
| Immediately after insertion | Shorted positive wire, reversed polarity, failed device | Leave the device disconnected and inspect/test the supply cable |
| When a switch is turned on | Failed load, startup surge, pinched switched wire | Disconnect the load and compare its starting-current specification |
| During heavy use | Combined loads exceed the circuit, undersized circuit design | Measure operating current with a suitable DC clamp meter |
| After warming up | Loose/high-resistance terminal, heat-sensitive device fault, wrong fuse environment | Inspect holders, crimps and terminals for heat discoloration |
| On rough roads or intermittently | Chafed wire, loose strand or moving connector | Inspect every pass-through, metal edge and moving section |
Step-by-step diagnosis
1. Record the correct fuse
Photograph the failed fuse and note its type and rating. Compare it with the appliance manual and wiring design. Automotive blade fuses, MIDI/AMI fuses, MEGA/AMG fuses and Class T fuses are not interchangeable merely because their current numbers look similar.
Never substitute foil, wire or another object for a fuse.
2. Isolate the load from the wiring
With all power disconnected, unplug or disconnect the appliance at the end of the circuit. Fit the specified replacement fuse, restore power carefully and operate the switch:
- If the fuse still opens with the appliance disconnected, the supply wiring or switch circuit is likely faulty.
- If it holds until the appliance is reconnected, investigate the appliance, its polarity and its startup/running current.
This division is faster and safer than dismantling the entire van at once.
3. Inspect before measuring
Follow both conductors from fuse panel to load. Look for:
- cable crushed by furniture or a screw;
- insulation cut at an unprotected metal hole;
- loose copper strands bridging adjacent terminals;
- connectors exposed to water or corrosion;
- overheated fuse holders and discolored crimps;
- incorrect polarity at the appliance;
- cables stretched across hinges, slides or sharp edges.
Correct the physical cause and replace damaged cable rather than covering compromised insulation where it may fail again.
4. Test for a short with power removed
Remove the fuse and disconnect sensitive electronics. With the circuit confirmed dead, use a multimeter as the equipment instructions specify. Very low resistance between the protected positive conductor and chassis/negative may indicate a short, but electronics, indicator lamps and capacitors can create misleading readings. Divide the circuit at accessible connectors until the suspect section is isolated.
Do not use continuity mode on an energized circuit.
5. Measure operating current
If the fuse fails only under load, a DC clamp meter can show running current without opening the conductor. Use a meter rated for the expected current and clamp one conductor only. Compare:
- normal steady current;
- manufacturer-stated maximum and startup current;
- the circuit's intended design load;
- the safe current rating of every cable and component.
Low battery voltage can make some constant-power devices draw more current, and a compressor or pump that is mechanically stalled may remain at high current instead of completing its normal startup.
The fuse protects the wire
The fuse must interrupt current before the cable, connectors or switching devices exceed their safe conditions. Cable capacity depends on conductor size, insulation temperature rating, bundling, ambient temperature, run length and installation method—not just an AWG number.
That is why “it stopped blowing with a bigger fuse” is not proof of a repair. It may simply mean the wire is now acting as the fuse.
Check the fuse holder too
A loose or corroded holder creates resistance and heat. Although excess resistance does not always increase the circuit current, the local heat can damage the holder, weaken spring pressure and create intermittent behavior. Replace heat-damaged holders and re-terminate questionable crimps with the correct tool and terminals.
After the repair
Before closing panels:
- Confirm the installed fuse type and rating match the documented design.
- Secure cable away from edges, heat and moving parts.
- Run the appliance through several start cycles.
- Test it at the expected maximum load.
- Check terminals and the fuse holder for abnormal heat.
- Label the circuit and record the repair.
If you cannot explain why the original fuse failed, the fault is not yet resolved.
Related guides
Frequently Asked Questions
Keep the build moving
Make the next build decision easier.
Get practical diagrams, calculator updates and honest product comparisons in your inbox.
Roam Wired
Roam Wired turns campervan research into practical plans. We publish transparent guidance, a free electrical design tool and marketplace resources for UK and US van builders.
About our approach